Tuesday, April 29, 2014

Fun Wallet

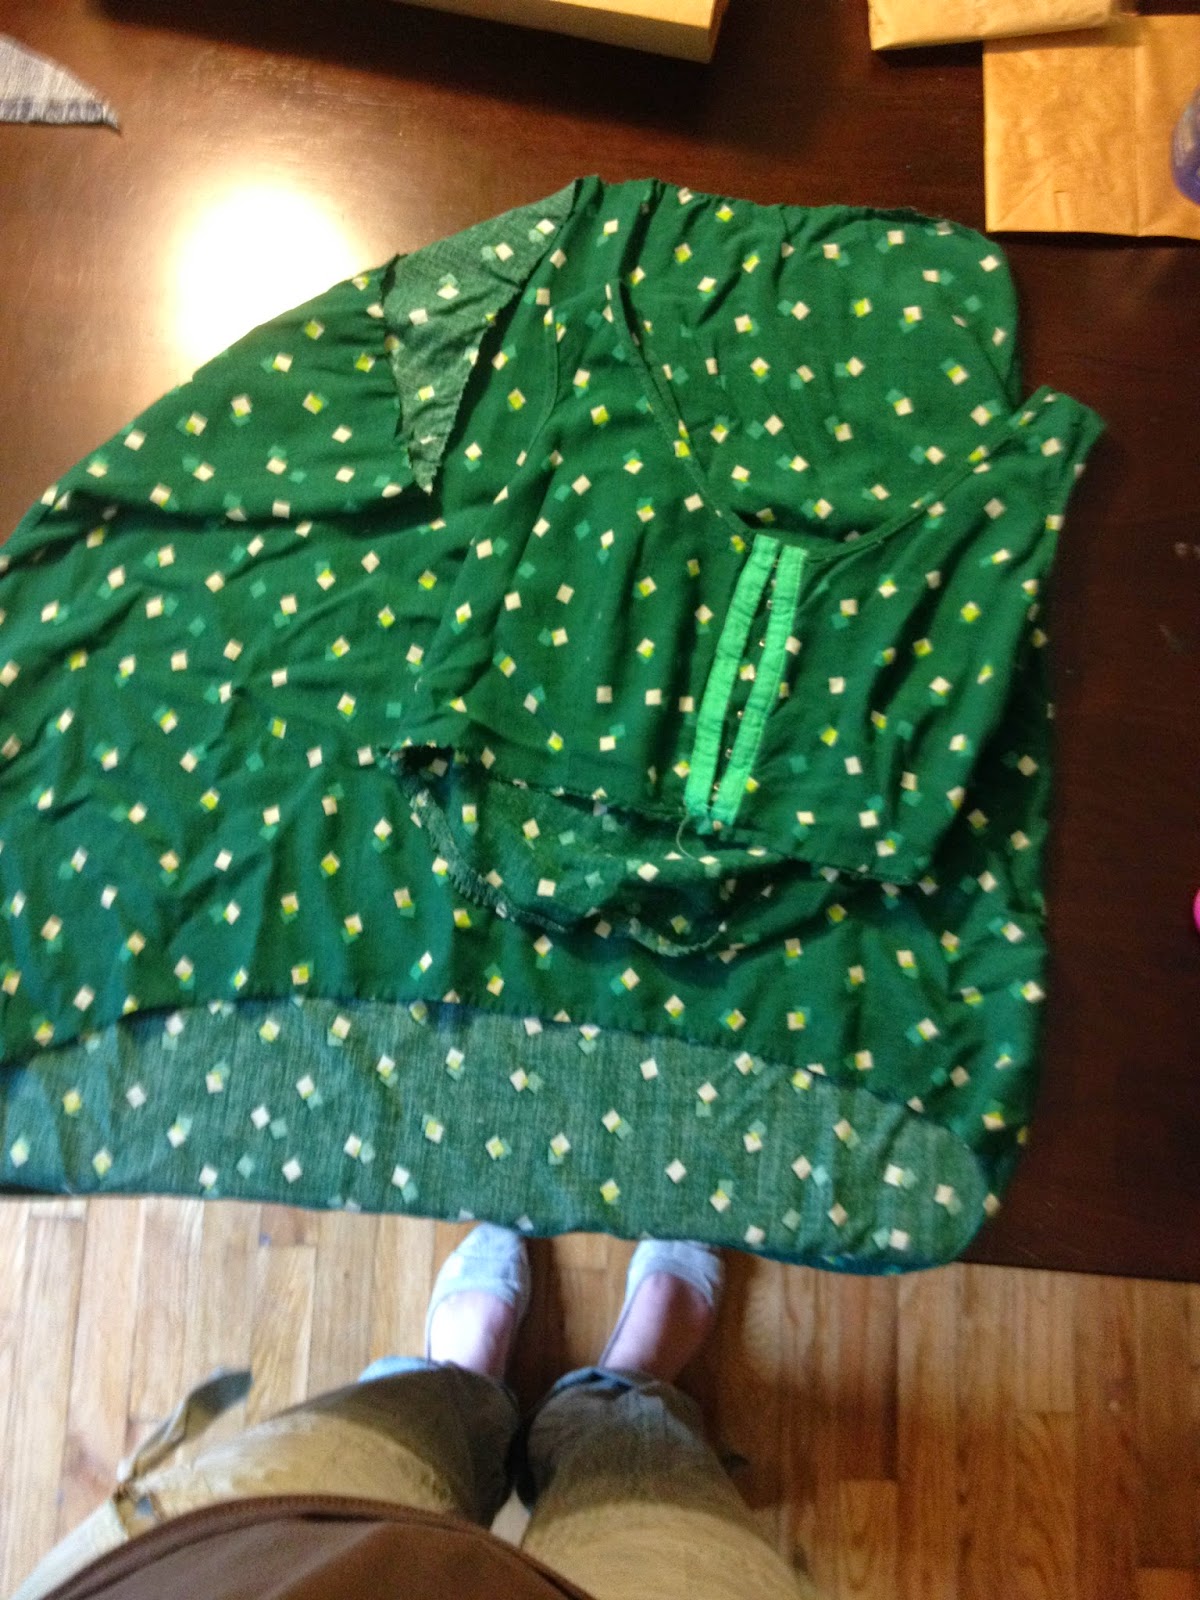
So, I still have some of that fabric that I love so stinking much....so I decided to make a wallet.

This one was a bit of a learning curve. I see where I could have done a better job. The pockets aren't quite as tight as I would like, so I would like to top sew the bottom as well to keep the cards more snug. Just going to have to figure out how to do it without breaking *another* needle. ;)

I found this tutorial awhile back so I decided to try it out. (Thank you, Pinterest)


Polkadot insides!
Got this adorbs bauble from Makin Memories...well, its actually from big lots. A pack of 9 different adorable baubles for 99 cents. I was pleased with how well it worked for this. :)  

Can't wait to use it! Its so cheerful! Hope you are inspired! Happy crafting!

Monday, April 28, 2014

I Sewed A Zipper!!!

Can you believe it?? I sewed a zipper! And it was the easiest thing in the world! Who knew? Certainly not me!

So I bought this fabric awhile back and got all excited about it...and then never had the chance to sew...so I took the day "off" to sew today.

I wanted a pouch to put my pens for postcrossing in so they would stop rolling around everywhere and thought I would try my hand at sewing one.

::GULP::

Much more frightening than I thought it would be....until I found this really great tutorial on Pinterest. It has step by step directions.

I completely forgot to put the tabs on...::FACEPALM:: it was WAY too late when I realized it. So...maybe next time, I guess?


LOOK!!! A ZIPPER!!! 

I am so stinkin stoked with my new pouch. Noah wants one, so I am going to use our leftover Captain America fabric to make him one. I think the only thing I would have changed on mine is I would have lined the pattern up better on top, but that's just my over-critical eye. 

Happy sewing!

Sunday, April 27, 2014

Refashionable Sunday!

So I bought this dress. I was SUPER excited. It was cute, loved the modern print and the high-low, hemline....the trouble was, the top was too small for my top....but the rest of it fit well...and I wanted to wear it.... a lot....What's a girl to do???

I know! Get a .99 mini-skirt and some old crocheted lace from the little old lady's basement sale last summer....and make a kickin, one-of-a-kind skirt!

Also, because I am pretty awesome, I thought I would share with you how I created my upcycled fashionable awesomesauce skirt. Yup.

So here it is. Mini-skirt, dress, and vintage crocheted lace. I just loved the print of this dress.
So.... I took some paper and created a template for the arch I wanted to cut in the front of the skirt.

Tah-daahhhhh...Trace and cut. Its a cinch. 


So after I cut the front, I pinned my crocheted lace to the bottom edge of the skirt. I placed the lace so that only the scallops were hanging down from the skirt. I wanted to use the lace to disguise the seams for the dress portion of the skirt. I then sewed just the top of the lace for the time being, though, I did sew it around twice for strength since it was a little delicate. 
Speaking of the dress, I cut the dress at the seam where the bodice met the skirt portion. Then, I measured from the highest point in the arch down my leg to the place I wanted the arch from the dress portion to fall once sewed on. It was 8 inches. I cut the skirt at 11 inches from the bottom seam. 
I turned the entire thing inside out and pinned the skirt 2 inches above the lace and gathered it in a few places to keep the fullness. I turned the skirt right side out and sewed around the skirt on the top of the lace again (making 3 times....VERY strong now). After that, I sewed around the bottom edge of the jean skirt (just above the scallops) twice. 

Here was the end result....(yes...a BAD photo, and the shirt doesn't match....what do you expect??? Its almost bedtime!)
 The side view really shows the high-low and how the lace layered with the two materials. I am seriously stoked and want to find the perfect shirt before summer so I can wear this bad boy. TOTALLY STOKED.

All told, this skirt took less than an hour to create. JUST my style. Short and sweet. I can't wait to make more skirts. I am so inspired now! Hope you are too!

Friday, April 25, 2014

Fairy Tales

So, I seriously love coloring the Fairies from The Stamp Doctor. This particular fairy is called,  Cornflower Fairy (D029 LG). All of them are just beautiful. I really love each one. I love coloring them even more. 

This particular card is actually an ATC (artist trading card). I made 10 identical cards for a swap I will be in this month. I had a lot of fun getting messy with the paints, inks and sprays. The  banner is made with Washi tape. 

I used Copic markers to color the fairy.


ATC's are a great way to express yourself and they can be used almost like trading cards. It is a lot of fun! I hope you are inspired to go get messy and create!

Also, head over to FB and check out the ATC swapping group! Its kind of amazing and fun! 

Sunday, April 20, 2014

Legos For Easter

Check it! I did a 20 minute craft with very little mess today!

So I am trying to make Noah's room less cluttered looking and with that trying to put some more "sophisticated" looking things on his walls. Not sure this hits all the right parts of that, but Noah loved it and it was cheap and quick.

So I found a lot of neat things on pinterest. This item caught my attention for sure. Its quick, easy, and fun.
I decided to add my own twist, for good or for ill, and use some old Lego paper I had from a prize I won years ago. I traced and cut out the lego figure. (As you can see, I totally traced it before cutting the paper down so I did it twice. At least I noticed before I cut! I adhered it to the front inside of a shadow box I have had for years. It had a Noah collage in it and I decided to put that away for now and use it for this.
Next, I used a couple flat plates Noah had and built up some yellow legos. I didn't like the waste of using so many random legos. Noah uses all of his legos all of the time so minimal and neat was the way to go. I made sure that the legos were flush with the front by folding paper bags underneath the plates to make it snug. If you notice, I also didn't fill up the entire square because you can't see the edges for the most part, so why waste the legos?
Once closed, here is the outcome. I kind of like the lego paper in the box and the legos being neat and tidy, though, I do like the original way as well.
Noah was excited to have it hung over his lego area. Kinda wishing I had a larger shadow box, but it will do.

Oh, and Happy Easter to you all!


Monday, April 14, 2014

Hoppy Easter!

So, I am not sure if you have heard of "action wobble" before, but it is kind of the latest coolest thing I have seen in a bit! No link yet, but its "coming soon", so keep checking back with us!

I had so much fun using this bunny (D015, Chocolate Bunnies). I stamped this lil guy with pink ink, and then used LT Pink Fuzzy Stuff and cut him out. I affixed him to the card using the action wobble which means that he hops around and wobbles! Its so fun! The fuzzy stuff makes him feel like velvet! 
The card itself is made using the Pop-A-Top 17 (exclusive to The Stamp Doctor) die which is made to coordinate perfectly with Spellbinders, S5-025, Labels 17, the Simple Sentiments 2 and Simple Sentiments stamps sets for the border and sentiment. The brads are ALSO available through The Stamp Doctor. 

Hoppy Spring, and Hoppy Easter to you all!!

Sunday, April 6, 2014

Smashing* Weekend

So yesterday, I got to go and play with my new friend, Kristy again. Its great having papercrafting buddies. I ended up doing 4 more pages in my cutesy style Smash*book from K & Company. I am using that book to document all of my crafty exploits and interests.

This first page is Myself, Lizzie and Ken Oliver from Spellbinders. We had a lot of fun together in the short time we had. Might have gotten into trouble for spending too much time looking for coffee.
 Lizzie and I went out on Friday to get ice cream and ran across this awesome little store called the Buffalo Exchange. Its used and eclectic clothing and items. They were actually having their anniversary when we went in so we got fun stickers, pins and postcards for free.  Oh, and there's a picture of Lizzie and I with The Stamp Doctor van!
 The traveling alone was amazing. I got to see the Hoover Dam, The Grand Canyon and Las Vegas all in one day. How lucky am I? On the way home I saw the Mountains and sunrise from my plane in Colorado before heading home. I slept the rest of the way after Colorado after a SUPER early wake up call...like 4 am...Blah. Who knows what I missed, but I was bushed.
 All my luggage tags and plane information, and one more Buffalo Exchange postcard. Oh...and I *might* have "forgotten" to turn in my key-card.....I made this pocket out of a paper bag and stamped it and decorated it.

 I have to be one of the luckiest people in the world. Getting to travel from time to time to share my love of crafting with other people. Its a blast and I can't wait to see what the rest of the year has in store! Hope my pages inspired you!

Also, on a completely different note, if you like sales and freebies, head over to the Zap Pow Facebook page and check out our latest release and sales! Also, a contest for 3 freebies!

Have a great rest-of-your-Sunday!