
Good morning, all! I am so excited to finally get to share this secret! Stampotiqu and Lindy's Stamp Gang have collaborated to bring you something extra special this month! The Stampotique ladies were sent some of the most amazing mixed media products that I have gotten to play with in a very long time!! Will you just look at this deliciousness??
 Of course, the color palate we were sent was perfect for the April color challenge that Lindy's has running. I love this color combination. I would never have thought to put that green in there. Perfection!

 Seriously, will you just LOOK at this MAGIC up in here?? My mind almost literally exploded when I tried the Magic Shaker the first time. I already have 2 more picked out to buy you guys. Seriously...
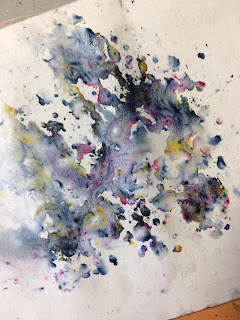
 Now, for the details. We were sent a little jar of Magical in Sidewalk Chalk and admittedly, at first I was unsure why we would need white....MAN was I narrow-minded. After thinking on it I experimented. A bit of Starburst Spray in Hawaiian Blue with a pinch of Magical and poof, a goreous pastel blue that I could mix into my Ranger texture paste. It....was....gorgeous!!! I used my Dina Wakely arrow stencil and that blue really popped off of the frame.
Next I decided to use the Embossing Powder we were sent (Dandelion Yellow Green). I grabbed one of our latest release stamps from Stampotique, a scrawling script background stamp and together these are really beautiful. The only trouble is, the subtle color doesn't pick up on photo the way it does in real life so, you will just have to trust me when I tell you how beautiful it is. Subtle is good.Not to mention, I have used quite a few embossing powders in my day but this one, because of how fine it is, has the best coverage before and after heating that I have ever used.


 I really hope this inspires you to get messy and create something beautiful. Until this project I had no idea just how versatile all of the sprays and products really could be and I challenged myself to ONLY use the Lindy's products provided and was not at all disappointed. In fact, I was pleasantly surprised. So, thank you Lindy's Stamp Gang for teaming up with Stampotique. I see a new obsession in my future!
Ingredients:
Kassa's Blossom: Stampotique
Script Background: Stampotique
Flat Fabio Raspberry Lemonade: Lindy's Stamp Gang
Stardust Spray Hawaiian Blue: Lindy's Stamp Gang
Stardust Spray Rusty Lantern Lime: Lindy's Stamp Gang
Magical Sidewalk Chalk Lindy's Stamp Gang
Magical Shaker Black Forest Black Lindy's Stamp Gang
Embossing Powder: Dandelion Yellow Green: Lindy's Stamp Gang
Jolee's Boutique/EK Success White Paper Flowers
Arrows Stencil: Dina Wakely
White Paper Frame: Jilli Bean Soup
Bakers Twine: Tim Holtz
Adhesive Pearls
Adhesive Gems
Star Sequins
Texture Paste: Ranger

For my project I really wanted to showcase the versatility of not just Stampotique stamps, but the versatility of Lindy's products. I started with a blank chipboard frame slathered with acrylic gesso. (when in doubt, gesso!!!) I used my Flat Fabio Raspberry Lemonade. Such a gorgeous pink! Yumm-O!! I then watered it down and let it run all over, using the heat gun to move the color around. I created about 3 layers this way.
So, my favorite product that I have tried from Lindy's has to be the magic shakers. LOOK at how many colors are magically in the Black Forest Magic Shaker, guys!!!

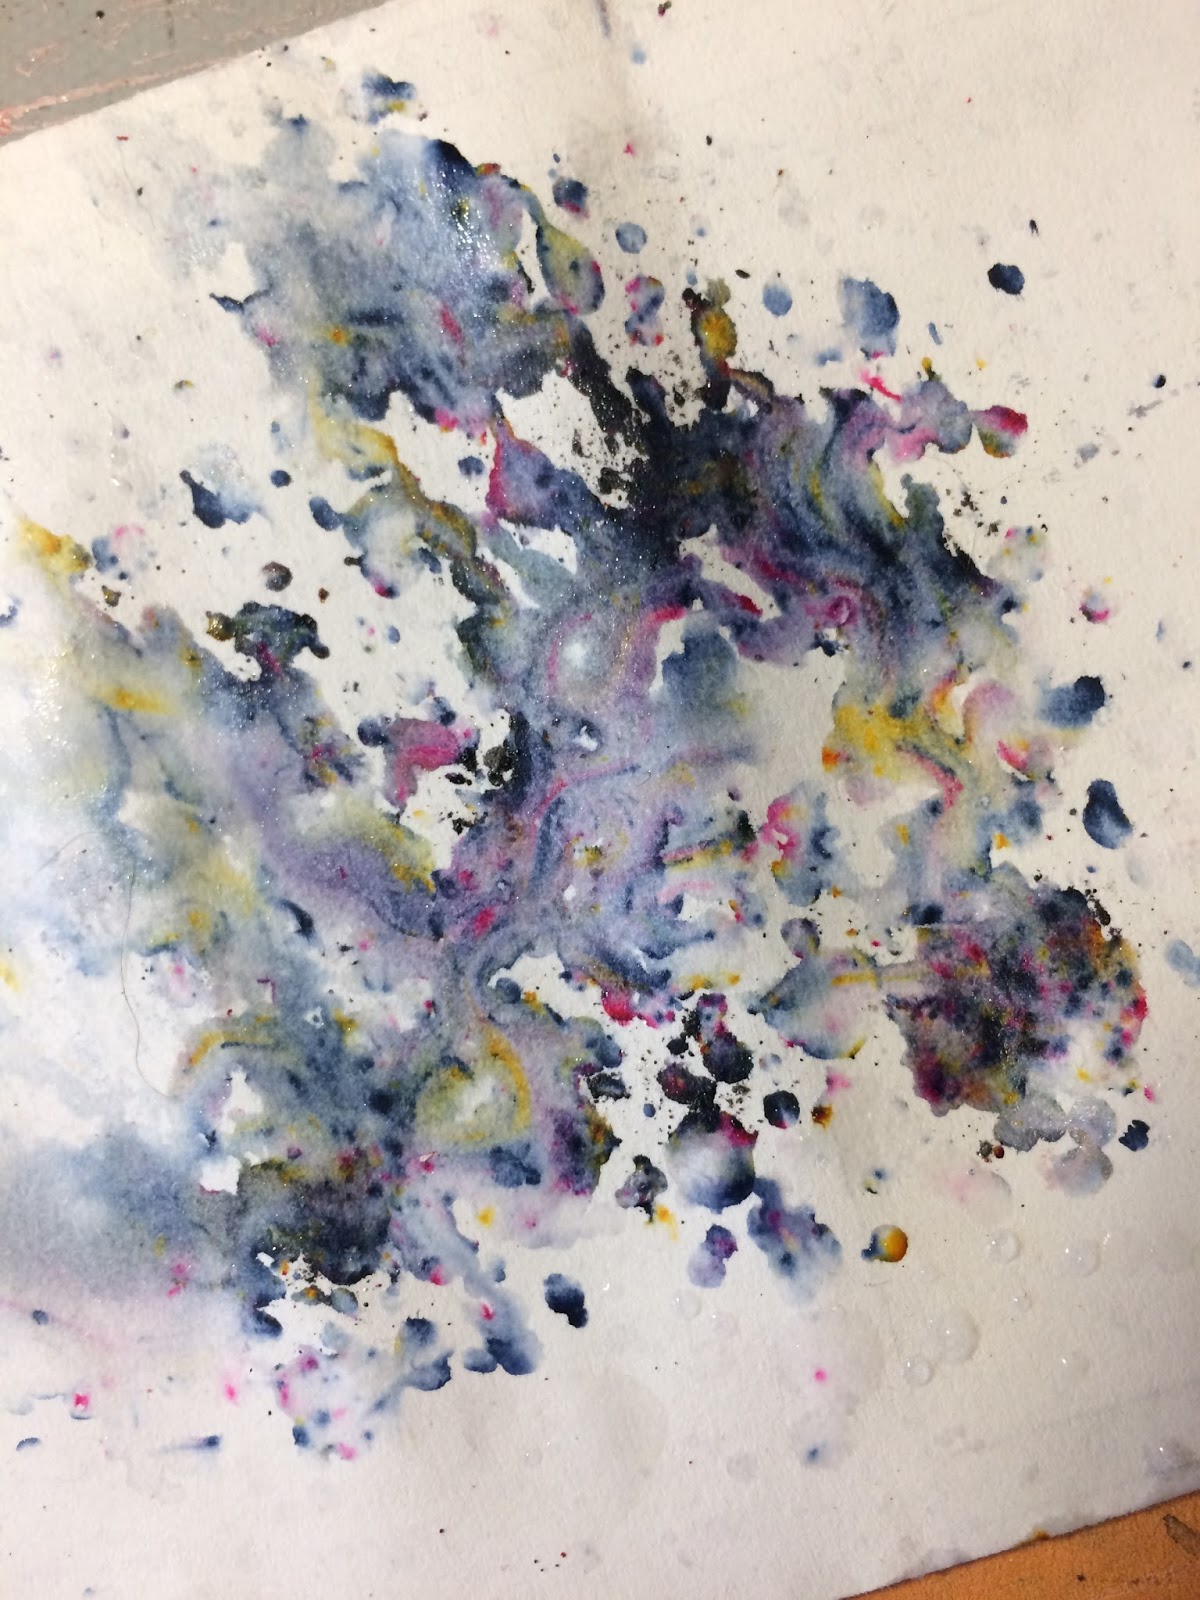
In the end, this was my base for my frame. I love how reactive the sprays are. Just a bit of water changes everything!! SO much fun!!

Next I decided to use the Embossing Powder we were sent (Dandelion Yellow Green). I grabbed one of our latest release stamps from Stampotique, a scrawling script background stamp and together these are really beautiful. The only trouble is, the subtle color doesn't pick up on photo the way it does in real life so, you will just have to trust me when I tell you how beautiful it is. Subtle is good.Not to mention, I have used quite a few embossing powders in my day but this one, because of how fine it is, has the best coverage before and after heating that I have ever used.

I used all 3 sprays, the Flat Fabio, and both Starburst sprays to water color these sweet flowers from Stampotique. I have been wanting to use this stamp for what feels like forever and this project was just the right thing. I ended up coloring 2 of them and really like how easily these sprays worked as watercolors. Additionally, I used some extra Hawaiian Blue texture paste on this vintage key. Gave it a more shabby look instead of a vintage look. The small flower here was created using a white paper flower and spraying it thoroughly with Starburst Spray in Rusty Lantern Lime. It is hard to tell, but that flower is so shimmery in the light!!

While researching Lindy's Stamp Gang I came across this really wonderful video showing how to create flowers from used baby wipes (used as in....painted and splattered, not used by babies). I knew I had to create a couple of these for this project. Using the sprays, of course. I used Rusty Lantern Lime and the Black Forest Magic Shaker on the paper frame.
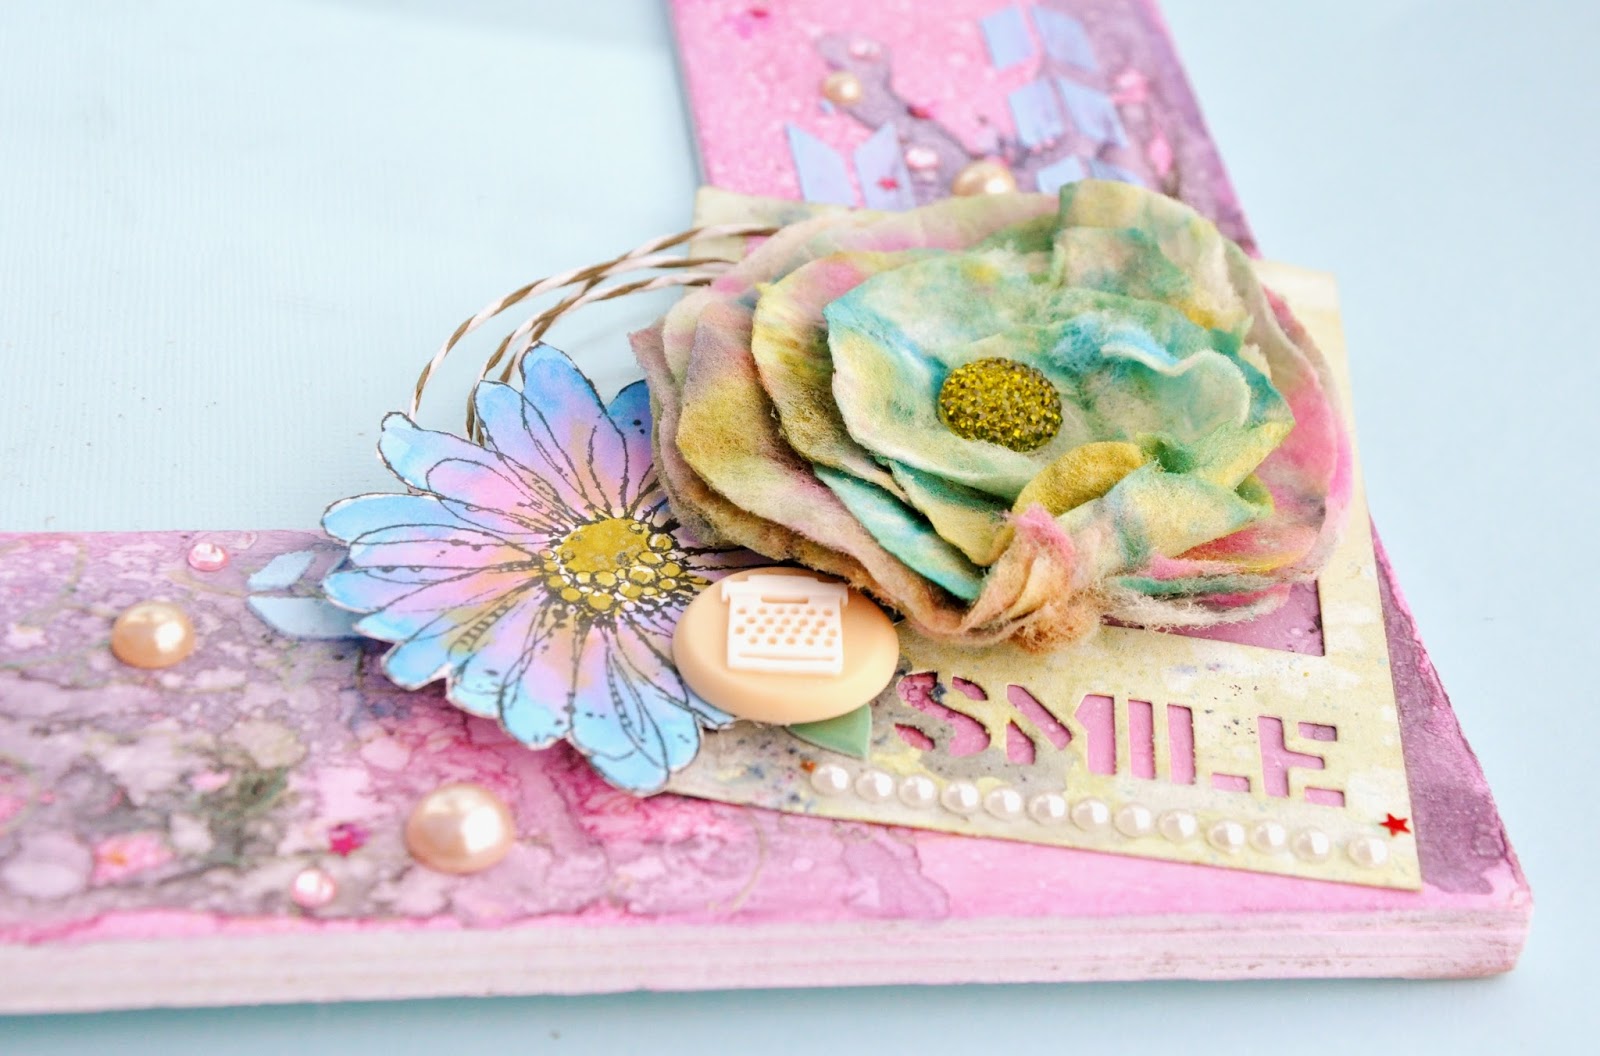
The end result is so wonderful! I will have to either gift this frame (this will be almost impossible) or, I will have to find the most wonderful photo. This frame is a statement piece all of it's own. It is difficult to see but the embossed script is on both top and bottom of the frame.

Ingredients:
Kassa's Blossom: Stampotique
Script Background: Stampotique
Flat Fabio Raspberry Lemonade: Lindy's Stamp Gang
Stardust Spray Hawaiian Blue: Lindy's Stamp Gang
Stardust Spray Rusty Lantern Lime: Lindy's Stamp Gang
Magical Sidewalk Chalk Lindy's Stamp Gang
Magical Shaker Black Forest Black Lindy's Stamp Gang
Embossing Powder: Dandelion Yellow Green: Lindy's Stamp Gang
Jolee's Boutique/EK Success White Paper Flowers
Arrows Stencil: Dina Wakely
White Paper Frame: Jilli Bean Soup
Bakers Twine: Tim Holtz
Adhesive Pearls
Adhesive Gems
Star Sequins
Texture Paste: Ranger


